Let’s talk about OnlyFans...again. We’re not new to this topic (see a list of OnlyFans-related articles at the bottom of this post), but we’re going to nail how to get approved for OnlyFans on the very first try.
For those who don’t know, OnlyFans is a social media platform that works similarly to Netflix, but for content creators. You (as a creator) can apply for a profile on the platform. Once accepted, you can set a monthly subscription price and showcase your content to “fans” who subscribe to your page.
OnlyFans is a place where all kinds of creators can get paid for their work. As I’ve mentioned before, landing a modeling gig or becoming a high-profile adult performer takes time, energy, and money. OnlyFans can often be used as a stepping stone to bigger things, but it can also be used as a way to earn a sexy side-hustle and boost your confidence.
“Fans” subscribe to your profile and pay a monthly fee (that you set) to see your content. When you post (on your feed) you can also set “tip goals” to invite fans to tip you for your work. Think of your subscription price as your “minimum wage” and your “tips” as tips you would get if you’re working at a diner. Depending on your ‘service’, fans can choose to tip you more than the blanket fee they pay to see your content.
OnlyFans takes 20%, you keep 80% of everything. Every tip and every subscription is given an 80/20 split - you get 80% of it, OnlyFans keeps 20%.
OnlyFans is unlike other social media sharing sites (such as Facebook and Instagram) in the fact that you can actually get paid for what you’re posting. And because of this, you need to “apply” to be a creator on the platform. You can do this by following a few simple steps (which I will outline below).
The upside? Getting paid for your hard work in content creation.
The downside? There are some reasons you could be denied your application to start an OnlyFans page. If you’re in the boat (or want to avoid that), I’ll walk you through some common reasons why OnlyFans applications are denied later in this article.
If you use your Twitter account, OnlyFans will use the email address and personal information associated with your Twitter account.

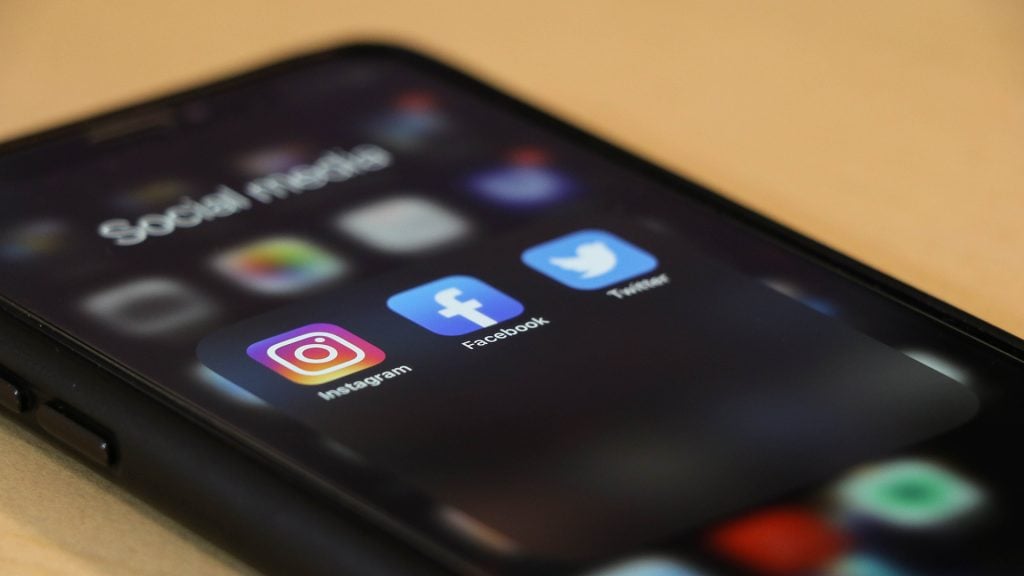
I personally recommend doing this. If you have a personal Twitter account you don’t want to be connected to OnlyFans, I suggest creating a new Twitter account for OnlyFans purposes - as Twitter is a great place to promote your content.
You will be asked to decide on a username and display name for your OnlyFans account. The username will appear in your URL. For example, it would be www.onlyfans.com / username (without the spaces). Choosing a username can be like choosing an alias if you want to remain anonymous - take your time and come up with something you like!
Once you do this, you will be sent a confirmation email. Simply follow the directions in the email, click the link and verify that it’s you.
Then, you will need to verify your identity. To do this, you will need to scan the front of your government-issued ID (passport, ID card, etc) and then also take a selfie of you holding the ID card to prove you are who you are claiming to be. This is done for legal and financial reasons, so you can link your bank (which comes later) and start earning on OnlyFans.
This part of the equation is usually where some people get cold feet, as it seems rather daunting to give your personal information (and that much of it) to OnlyFans, especially if you’re trying to stay anonymous. But don’t worry - this information is only ever used for OnlyFans verification purposes and none of your fans will ever see any of that information.
Once you have filled in this information and submitted your photos (ID scan and selfie with your ID), you can submit your OnlyFans application for approval. This process can take up to 72 hours but typically takes no longer than 24 hours.

If you are approved, you will get an email that states you have been approved and can continue setting up your OnlyFans account. If you have been denied, the email will list possible errors with your application, ways to fix them and how to resubmit your application. There is no time limit in which you have to wait to reapply - simple fix the error(s) and resubmit. However, you will need to wait another 24-72 hours to hear if that application has then been approved or denied.
While you wait for your OnlyFans application to be approved or denied, you can do some aesthetic things to your profile such as setting up your account information, notification desires and filling in your biography. Take this time to set up your profile (visually), the way you want it to be so that you are ready to go as soon as you get the “okay” from OnlyFans.
However, you won’t be allowed to set a subscription price until you link your bank account, and you can’t do that until you have been approved.
During this stage, you can also do things like add your location, your Amazon Wishlist, and connect your Spotify account on the “about” section of your page.
The next step is simply waiting for an email that will let you know if your application has been approved or denied. As I mentioned earlier, this should come within 24 hours (but can take up to 72 hours) from when you submitted the application.
If you have been approved, you can move on to the following steps. If you have been denied at this stage and would like some guidance on getting it right the second time, check out the section below entitled “Common OnlyFans Rejections.”
In order to receive the money you’re earning on the platform, you need to connect a bank account. You will have to submit your personal details for review and get approved (as stated above) before doing this part.

To submit your bank information, click on the profile icon on the top right corner (which opens up a side-menu), and click “add bank (to earn).”
Next, you will be prompted to add your country of residence and verify your age (that you are at least 18 years of age).
Then, you click “next” and will be directed to another page. On this page, you can continue to add more personal information such as your legal name, your address, your city, post/zip code, and your date of birth. All of this information is required.
Once you have entered your personal information, you will be prompted to do steps one through four if you haven’t already been approved for an OnlyFans account.
If you have been approved and can continue here, you will be taken to the banking page. The default payout method for OnlyFans is to have the funds be sent through your visa or mastercard. This is known as Original Credit Transfer (OCT), and with this method, you can withdraw a minimum of $20 at a time and you will receive it within three business days.
You will see an option for “other payout options” if you don’t wish to do a direct-deposit method. The other methods available is an International Bank Transfer (SWIFT) or a Direct Transfer - both of these go to your bank accounts.
Home Grown Income, who did a spectacular post on this (which you can find here), suggests sticking with Direct Transfers if you have a Visa or Visa Debit card as this is the fastest payment method. If you don’t have a Visa or Visa Debit card, you can choose International Bank Transfer (SWIFT) - but this may take a bit longer.
Subscription rates are the rate that each “fan” will pay to gain access to your page. Bundle rates are promotional rates if a fan decides to sign up for three, six, even twelve months at a time. It’s a good idea to give a (calculated) discount for fans who choose to sign up for longer periods of time.
Deciding on your subscription rates can be a bit tricky. It’s important to note that you can change your subscription rates at any time - so what you choose won’t be permanent. However, your beginning rate can be pretty important in terms of what your fans expect from the sign up.
Subscriptions on OnlyFans run monthly, and OnlyFans takes 20% of the action. For example, if you set your subscription rate at $5.00 per month/per fan, you’re earning $4 per per month/per fan.
The minimum amount you can charge per month on OnlyFans is $4.99, and the maximum amount you can charge per month is $49.99. The minimum you can charge for a private message is $3.00, and the minimum you can charge for a tip request is $5.00.
It’s important to realize that charging more doesn’t automatically mean you will be in the top-earning creators section. There is a bit of finesse that goes into marketing yourself and choosing a price that will both benefit you and not be too steep for lots of fans.
“How much money should I charge for OnlyFans?” That’s a good question. Really, what kind of content you decide to make, how often you post, and how engaging you plan to be with your fans all determine what price you should be asking. If you’re someone who plans to show a lot, post a lot, and engage a lot, you can definitely ask a bit more for a subscription price.
I would suggest setting a starting limit of anywhere between $5.00 - $9.00 and then offering “bundle discounts” for people who sign up for 3-6 months at a time. Be sure to use some marketing hacks (like ending your price in .99 instead of .00) to make the most out of it.
A commonly known strategy for OnlyFans beginners is to set your subscription rate to “FREE” (which you can do) and then either have a separate “paid” account (and use the free account to promote censored photos that are uncensored on the paid account) or to simply have “paywall posts” where people can buy individual post access instead of paying a monthly fee.
Now...on to the common problems people often have with OnlyFans applications. Here are some possible reasons your application may be denied (and how to solve and/or avoid them), in hopes of getting your application approved on the first try.

This is perhaps one of the most common reasons people are denied for OnlyFans...your photo isn’t high enough quality and/or it’s blurry. You need to be able to read your ID card print in the selfie you’re taking alongside your card. Not only that, but your entire face has to also be in the frame to prove your identity.
This can be a bit tricky - but one golden rule: do not use the “selfie” (front-facing) camera on your phone for this, even though that may be easiest. The front camera on your phone naturally isn’t as high-res as the back camera, which means the image won’t be as good. Use a tripod and timer (or have someone else take the photo for you) with the normal-facing camera on your smartphone (or an actual camera) to ensure the highest quality.
Additionally, when scanning your ID card (front and back), ensure that the writing is legible and it’s not cropped incorrectly.
Double check the expiration date on your identification. The important thing to note here is that even if your ID hasn’t expired yet (but will within the next 30 days), OnlyFans can still deny your application on the merit that your ID will not be valid a month from now. Ensure your ID card is in good standing with an expiration date far in the future to avoid being denied for this reason.
Spelling mistakes, typos, a missing box that wasn’t ticked...there are quite a few errors that can occur when submitting online forms. Make sure you read over your application carefully and take the time needed to review and full in everything correctly.
This is an error message you could potentially get in your “denied” email - this simply means that, for whatever reason, OnlyFans needs a secondary photo ID to verify who you are. This could be for a few different reasons, but the most common is that your ID isn’t a common one or that it’s in a different language and they wish you to upload one in English).
Another message you could potentially get in your “application denied” email - and this one is a simple fix...just provide them with as many social media links as possible to verify you’re a real person on social media. You can always unlink them from OnlyFans after the process has completed.
This is an error message that is unlikely, but could happen. OnlyFans, while NSFW-content-friendly, prohibits arranging escort services. Words such as “meet” are often restricted on OnlyFans as well as more dangerous play terms such as “choke.” Ensure that your profile isn’t showcasing anything that could be flagged in this way.
This is a simple one: if you want to be on OnlyFans, they want all payments to be processed through them. Having your Paypal link in your bio or link locations is a good way to ensure your application will not make it through this first phase, as they want all payments you get to go through them.
If you have submitted an account that is run by two or more people (a couple, a throuple, or multiple people uploading to the same page), this will require a bit more hoops to be jumped through. All creators will need to scan government-issues IDs and all creators will need to take selfies with those IDs.
Scan the front and back of your cards! Always. This is a super simple thing you must do before submitting - but you’d be surprised at how many people only scan the front and are denied because they didn’t scan the back as well.
There are always the outlier cases where you have seemingly done everything right but still have been denied. The most common reason for this are that you have uploaded the right things (the right files, the right information, etc) but not in the right formats. Another common error is that through some mistake, part of your application didn’t get sent through. In this case, if you have received a denial email from them, follow their instructions on how to correct the mistake and resubmit.
FAQs about OnlyFans
Lazy Girl’s Guide to Starting an OnlyFans
How to Protect You Privacy on OnlyFans

 Did You Know We're The Biggest

Sell Now
Create Your Sexy Shop In Under 2 Minutes
Make Money Selling Your Used Items


Buy Now
Find Lovingly Used Panties, Toys & More
Explore Your Kinks With Our Sexy Sellers
Did You Know We're The
Sell Now
Create Your Sexy Shop In Under 2 Minutes
Make Money Selling Your Used Items

Buy Now
Find Lovingly Used Panties, Toys & More
Explore Your Kinks With Our Sexy Sellers