There are so many fun ways to tie someone up and even more yummy things that you can do to the person once you have them bound. But what if you want something a little more than tying them to the headboard and footboard? What if your bed doesn’t have easy places to tie someone to? What if you don’t have a ton of storage space for toys. Rope is a great tool to have in the bedroom.
I’ve been doing quite a bit of research to bring you as much information as possible about bondage with ropes. There is so much more to this than you’d think. I was amazed by all the things that the Top and Bottom must take into consideration before playtime can even happen.
First off, we need to go over some very important safety tips when using rope to bind someone or restrict movement. I’ll say this quite a bit and so do all of the resources that I found: rope play is not to be entered into lightly. It can be very dangerous and lead to permanent damage or even death.
There are a few other safety things to consider, along with potential medical concerns for both of you. I found this very comprehensive, but straightforward list of things to think about. The list includes pressure points, major blood vessels, and major nerve areas.
As you begin to explore the fun world of rope bondage, there are some words that you need to learn. You’ll see these terms again and again as you read and watch tutorials. You also may hear them referred to as other names, but the knots themselves are the same. If you did scouts growing up or are a rope enthusiast, these words are old hat. Netknots.com is a great resource for rope care and rope terminology.

Here is a list of some of the most basic terms that you will come across:
In my hunt for quality rope, I discovered what I consider to be one of the best sites that not only sells rope but has everything that you need as you begin your rope bondage journey. The Twisted Monk website has a section devoted to tutorials, another for gear, and even has a section for beginners.

They have a wide variety of rope options that range in both size and color. You can even get ropes that are custom made. The Twisted Monk also has a section for gear and accessories as you become more comfortable with rope play. They carry accessories for suspension, among other things. They have a variety of hemp, spun cotton, and polyester rope to choose from.
Another brand that I found was Doc Johnson. Their website was geared more to vendors that want to carry their large selection of products. The ropes can be purchased from local retailers as well as on Amazon.
I was quite surprised at the wide variety of ropes and accessories available on Amazon. The thing I like most about ordering things from them is the discretion that comes with their orders. The flip side to that is that lack of educational support to ensure safety for newbies. Research is so important.
Rope bondage can be classified into two main categories: Shibari and Western. Shibari is a very beautiful form of bondage that was born in Japan originally to shame and restrain prisoners. The knots are less about the knots themselves and more about the way the rope is displayed on the person that is being bound. The looping of the ropes is very intricate and methodical, but easy to remove. The rope that is to be used when practicing Shibari is very specific.
Western bondage, on the other hand, is a hybrid that can include the beauty of the knots. However western tends to use more of whatever rope is on hand to restrain the bottom. It sometimes doesn’t even have to be rope. It’s whatever you have on hand.
Should you want to try playing with rope on your own, it is absolutely possible to engage in solo rope play. There were quite a few self-bondage tutorials on youtube.com. One of the benefits of solo rope play is practicing binds that you want to learn before using them on someone else.
You can experience either sensual self-bondage. This is more about the psychological high of being bound than the knots themselves. The other type is strict self-bondage and that is about getting out of the bind that you put yourself in. To find out more about self-bondage, check out this article here on Sofia Gray.
Now to the fun part, the actual knots. And there are more ways to tie knots than you can imagine. Some images of standard knots can be found on ropestudy.com. It’s cool to see what they look like as you learn. Images of many of the knots listed below can be found there.
I’ll try and hit some of the big ones and give you some pros, cons, and uses for each. I’ll also add some links or tutorials to help you practice while watching someone with experience. That’s honestly the biggest thing with any sort of rope play, it’s practice. The second thing to remember is that a knot should be very easily undone. If you can’t, then you either did it wrong or the rope is too tight and you need to use shears to cut the Bottom out of the binds.
Knot: Lark’s Head and a Double Lark’s Head
How much rope is needed: N/A
Purpose: This simple knot extends rope. It is also easy to undo. A top could use this knot as part of a bigger and more elaborate restraint system.
Part of the body that’s restrained: This will depend on the use of the knot. It is a very basic knot that can be used for more complicated binding.
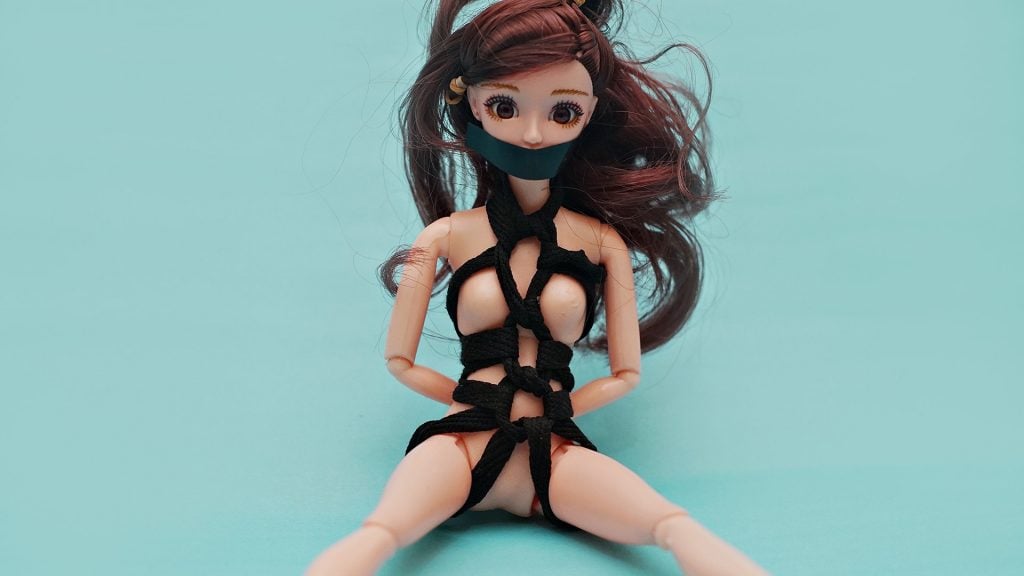
Knot: Chest Harness or Body Harness
How much rope is needed: 30 feet of rope
Purpose: This is more of a full restraint than an actual knot. A chest harness is used to physically show the Top’s dominance over the Bottom. It also emphasizes the size and perkiness of the breasts. It provides a place for the Top to grip and maneuver the Bottom.
Part of the body that’s restrained: Primarily the chest, but the arms can also be included with chest harness. The body harness can include the hips and groin area.
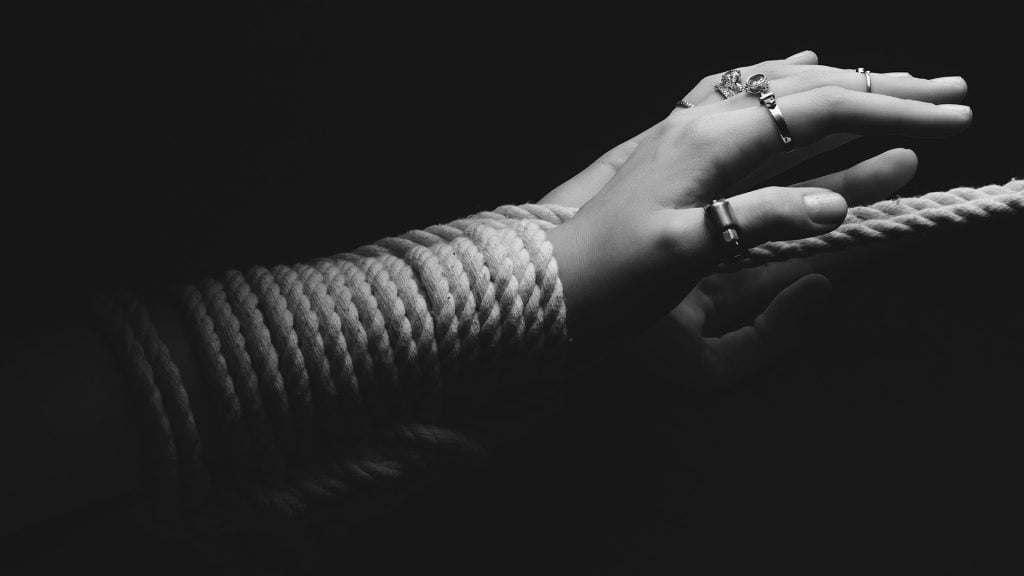
Knot: Handcuff Knot
How much rope is needed: This knot uses 15 feet of rope.
Purpose: This is a fairly easy knot to use to bind hands. It uses a couple of half hitches.
Part of the body that’s restrained: It’s primarily used to restrain the hands, but it can also be used to bind the ankles.
Knot: Reverse Tension
How much rope is needed: This will depend on the desired final outcome; I recommend 30 feet.
Purpose: This is a very versatile knot, that isn’t really a knot. For this, you simply run the working end through the bight and pull the tension opposite in the direction of the way the rope is wrapped around the Bottom. You can use it with single or double columns ties, harnesses, among others.
Part of the body that’s restrained: Again, this is used for many different binds. Your limit on this one is your own creativity.
Knot: Cinch (or the single column tie)
How much rope is needed: Length will depend on the final outcome of the bind. 15 feet is the minimum I would go.
Purpose: This is a foundation knot that is used for many other sorts of binding and restraining. It is a good one to use to tie the bottom to the headboard and footboard of the bed.
Part of the body that’s restrained: The sky’s the limit on this one. It can be used for wrists, ankles, legs, and arms.
Knot: In line Cuff
How much rope is needed: The length for the in-line cuff is 30 ft.
Purpose: This is a very useful knot to bind legs, extend length, and get a good knot when you can’t make a new bight. It can be used when creating more complex rope structures.
Part of the body that’s restrained: This knot is particularly helpful when binding the legs.
Knot: Friction
How much rope is needed: 30 feet of rope is required.
Purpose: The point of this one is not friction against the body, it’s friction on the rope to hold it in place. Keeping the rope securely in its original placement is paramount to safety. This is a foundational knot and used in many larger rope structures.
Part of the body that’s restrained: The Top can use this for restraining any part of the Bottom’s body.
Knot: Half Hitch
How much rope is needed: Depends on the finished knot, 30 ft is advisable.
Purpose: The purpose of this knot is to tie off the ends of the rope. It’s a perfect choice when you want to tie your bottom to a piece of furniture. It is easy to untie, and it is a friction knot.
Part of the body that’s restrained: Any part that is going to be tied to furniture or structure.
Knot: Futomomo
How much rope is needed: You will need a minimum of 30 ft, depending on the length of the arms or legs of the Bottom.
Purpose: This is an easy knot to learn and uses only cinches and a single column tie. There are ways to adjust the placement of the knot for those with limited flexibility. The Futomomo tie keeps the Bottom’s legs or arms in place. This allows the Top to have access. It can also be part of other restraint ties to keep arms or legs in a fixed position.
Part of the body that’s restrained: We can use this to bind either the legs or the arms. The forearm is tied to the upper arm or the ankle is tied to the thigh.
Knot: Sling
How much rope is needed: You will need two pieces of 15 foot rope.
Purpose: This one looks like it will be so much fun. I can’t wait to try it out. With the sling, the bottom is literally spread open and restrained in that position. The ankle is tied to the thigh and then the rope is wrapped under the arm and around the opposite shoulder.
Part of the body that’s restrained: Legs and ankles are bound to the torso. You can also tie the Bottom’s hands either together or to the side. Dealer’s choice.
Knot: Ankle to Wrist
How much rope is needed: 2 lengths of 15 foot rope.
Purpose: This is one of my favorites. It is similar to when you use cuffs clipped together at the ankle and wrist. With the ankle to wrist tie, the Top has easy access to all of the key areas and the Bottom is at their mercy.
Part of the body that’s restrained: The ankle and wrist are bound together on the same side of the body.
Knot: Spreader Bar
How much rope is needed: You’ll need 25-40 feet of rope to make the variations that are in the tutorial.
Purpose: This is a great alternative to the more expensive options for metal spreader bars. The spreader is meant to keep the Bottom or sub unable to close their arms or legs. The Top has full control with this one. The Bottom’s wrists are between the legs, parallel with the ankles and they are all tied together in a spread eagle position.
Part of the body restrained: Arms and feet are restrained in a similar fashion to a traditional spreader bar.
Knot: Mermaid tie
How much rope is needed: You will need 50 feet of rope.
Purpose: This is a very beautiful restraining knot, and that is its sole purpose. It simply restricts movement of the legs. The Top has full control over the leg placement of the Bottom.
Part of the body that’s restrained: This bind restrains the legs anywhere from the hip down to the ankles.
Knot: Dog Tie
How much rope is needed: You will need four lengths of 15 foot rope.
Purpose: This tie is similar to the hogtie, but the Bottom is ass up, face down. They can be flipped over and also attach them to other things. In this position, the Top has easy access to any entrance they chose to use.
Part of the body that’s restrained: This bind restrains the ankles, wrists, legs, and arms.
There are so many channels and videos on youtube.com. I spent hours going through videos and I learned so much. The best ones that I found combined education, care, and even a few jokes. There were others that were good, but these were real standouts.

1. Watt’s the Safeword- These two guys are fun and connect themes to each bind, restraint, and knot. They explore lots of areas of the BDSM lifestyle. They even go as far as sharing their playrooms. Their website was great also. The blog was very educational, and they are open about their kinks.
2. The Twisted Monk- I really liked the educational feel of their how-to videos. The videos are clearly labeled and easy to navigate from their website. I liked that with the products they carry, you can get samples and custom rope. The ropes can either be a color of your choosing or length that you require.
I have always wanted to know more about rope bondage. Being tied up was something that has fascinated me since I was small. After finding all of the information, I realized that this is a kink that loads of people have and it’s one that I can explore on my own or with my partner.
I also learned that it’s not about pain. While the Bottom may have discomfort, they shouldn’t experience any pain. Like other parts of the BDSM lifestyle, safety is the most important thing. There are videos about what not to do; rookie mistakes that can be harmful or dangerous and how to avoid them.
Nearly all of the videos that I combed through to link here in my article always include the mention of safety shears and the use of a safe word. They also stress the importance of checking in on the sub or Bottom to ensure that they are ok. They constantly check that the tension isn’t too much or that they aren’t too tight.
If rope play is something that you want to engage in, either by yourself or with your partner, you need to educate yourself. You need to learn where important arteries and nerves are located so that you don’t hurt yourself or your partner. If the Top doesn’t know about these things, they can cause long lasting or even permanent injury to the Bottom.
Whenever I’ve seen porn that involves bondage and rope play, it honestly scared me a bit. Seeing people suspended and sometimes bound so tight in a chest harness that their breasts are purple was scary for me. Now I know that all of it is methodically thought out and planned. It’s not that daunting anymore. And like any BDSM play, you start with baby steps and learn your limits.

The person that is bound can end the scene at any time, the same that a sub can do with any other types of restraints.
I’m really excited to try and experiment with the knots that I mentioned and some that I haven’t. The spreader bar was by far the one that caught my eye the most. I have looked into getting a spreader bar, but I don’t really have many places to store it. But one that is made of rope is easy to explain should the rope be found. It’s been fun to do this research and start to plan different scenes and what we can try first.

 Did You Know We're The Biggest

Sell Now
Create Your Sexy Shop In Under 2 Minutes
Make Money Selling Your Used Items

Buy Now
Find Lovingly Used Panties, Toys & More
Explore Your Kinks With Our Sexy Sellers
Did You Know We're The
Sell Now
Create Your Sexy Shop In Under 2 Minutes
Make Money Selling Your Used Items

Buy Now
Find Lovingly Used Panties, Toys & More
Explore Your Kinks With Our Sexy Sellers